如何使用Jekyll和github Pages搭建博客

jekyll

1.安装jekyll

在linux或mac系统中,打开终端,输入如下:

1
2
3
4
5
~ $ gem install jekyll bundler
~ $ jekyll new myblog
~ $ cd myblog
~ /myblog $ bundle exec jekyll serve
# => Now browse to http://localhost:4000

看到如下信息代表运行成功

1
2
Server address: http://127.0.0.1:4000/
Server running... press ctrl-c to stop.

浏览器中打开 http://localhost:4000 看见一个欢迎的页面代表安装成功了。

2.申请github pages

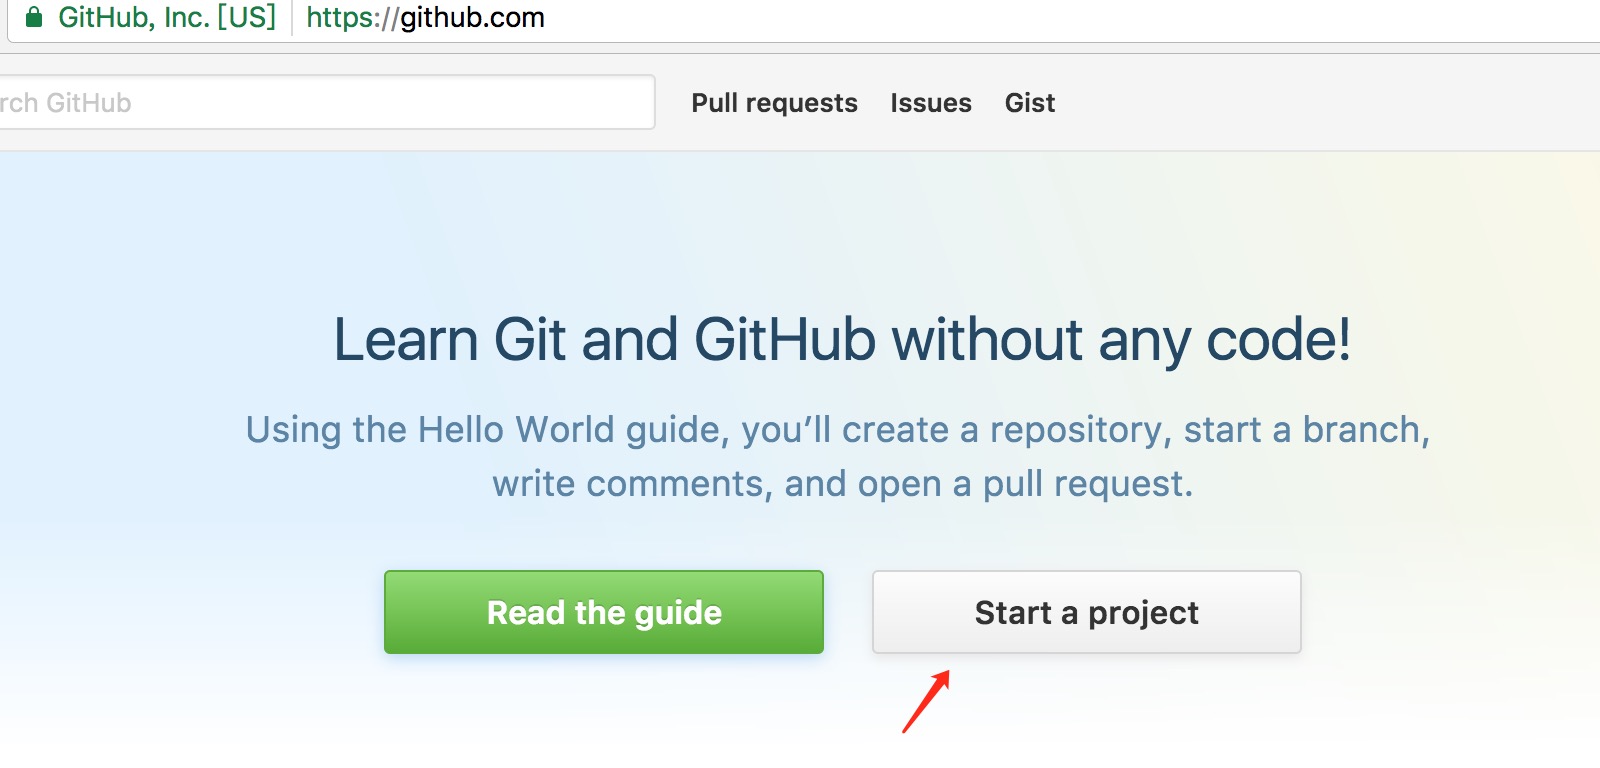
打开github.com,Start a project
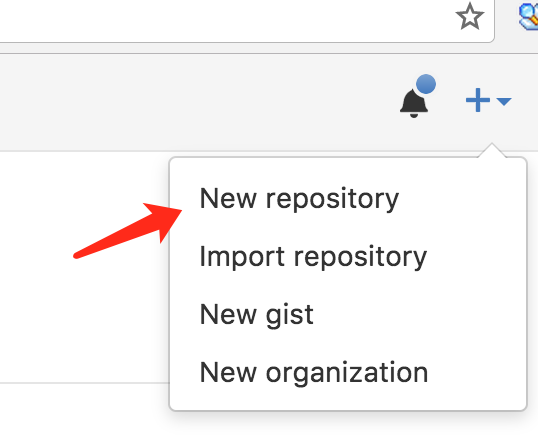
或者从这里创建一个仓库

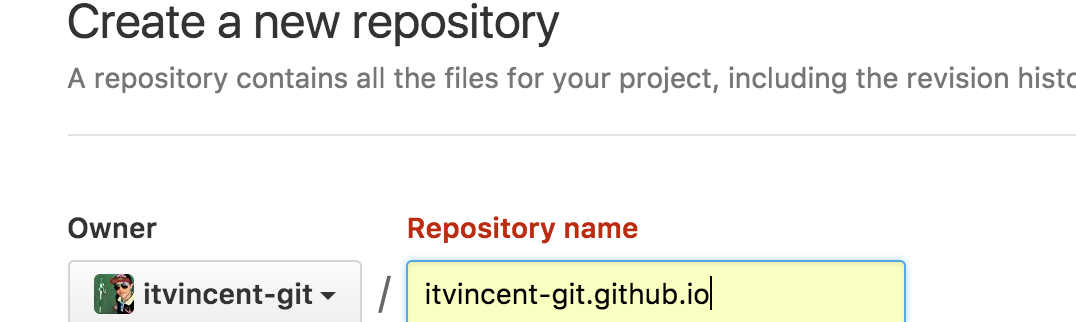
按照username.github.io的格式来创建一个仓库

创建一个index.html,内容为hello world,保存然后上传到github repository。

打开 https://itvincent-git.github.io/。看到hello world的字样,就代表github pages创建成功了。

3.把jekyll放到github pages上

由于github pages是直接支持jekyll的,所以可以直接把刚才生成的myblog项目直接上传到https://itvincent-git.github.io/上。

上传前先修改Gemfile文件:

1
2
3
4
5
6
7
8
9
10
11
12
13
14
15
16
17
18
19
20
21
22
23
24
source "https://rubygems.org"
ruby RUBY_VERSION

# Hello! This is where you manage which Jekyll version is used to run.
# When you want to use a different version, change it below, save the
# file and run `bundle install`. Run Jekyll with `bundle exec`, like so:
#
# bundle exec jekyll serve
#
# This will help ensure the proper Jekyll version is running.
# Happy Jekylling!
#gem "jekyll", "3.3.1"

# This is the default theme for new Jekyll sites. You may change this to anything you like.
gem "minima", "~> 2.0"

# If you want to use GitHub Pages, remove the "gem "jekyll"" above and
# uncomment the line below. To upgrade, run `bundle update github-pages`.
gem "github-pages" #, group: :jekyll_plugins

# If you have any plugins, put them here!
group :jekyll_plugins do
gem "jekyll-feed", "~> 0.6"
end

然后使用命令行进入myblog目录下,执行bundle update github-pages会更新jekyll的版本。

更新完毕后重新运行一次jekyll,运行正常。

myblog下的全部文件commit到https://itvincent-git.github.io/的master上,稍等刷新下页面,就能看到jekyll的首页了。

文章作者: Vincent Zhong
文章链接: http://www.itvincent.net/2016/12/15/how-to-use-jekyll-with-githubpages/
版权声明: 本博客所有文章除特别声明外,均采用 CC BY-NC-SA 4.0 许可协议。转载请注明来自 itVincent的博客